
Some of the projects we ended up doing were simple and straightforward and only required the purchase of supplies. Others took a bit more prep and organization.

We decorated pillowcases and hand towels with fabric paint, made our very own comic books, and hammered nails into wooden boards for string art. We also did a directed multi-media project, photograph reproductions, and a segmented watercolor poster. These projects may sound overwhelmingly artsy, but they aren't as complicated as all that - especially in the hands of 7 year olds.
I also had a box of simple art supplies, and a sketch pad, for each child to use if they finished projects early and needed something to do.


You'll need an assortment of fabric paints for the fabric painting project. I found some at the dollar store that were easy to use. I also picked up some solid colored pillowcases and hand towels. You'll need to insert a piece of cardboard inside of the pillowcases as the fabric paint can sometimes bleed through. You could do aprons, cloth napkins, or t-shirts too. White is nice, but as long as it's a solid color, you're good to go.

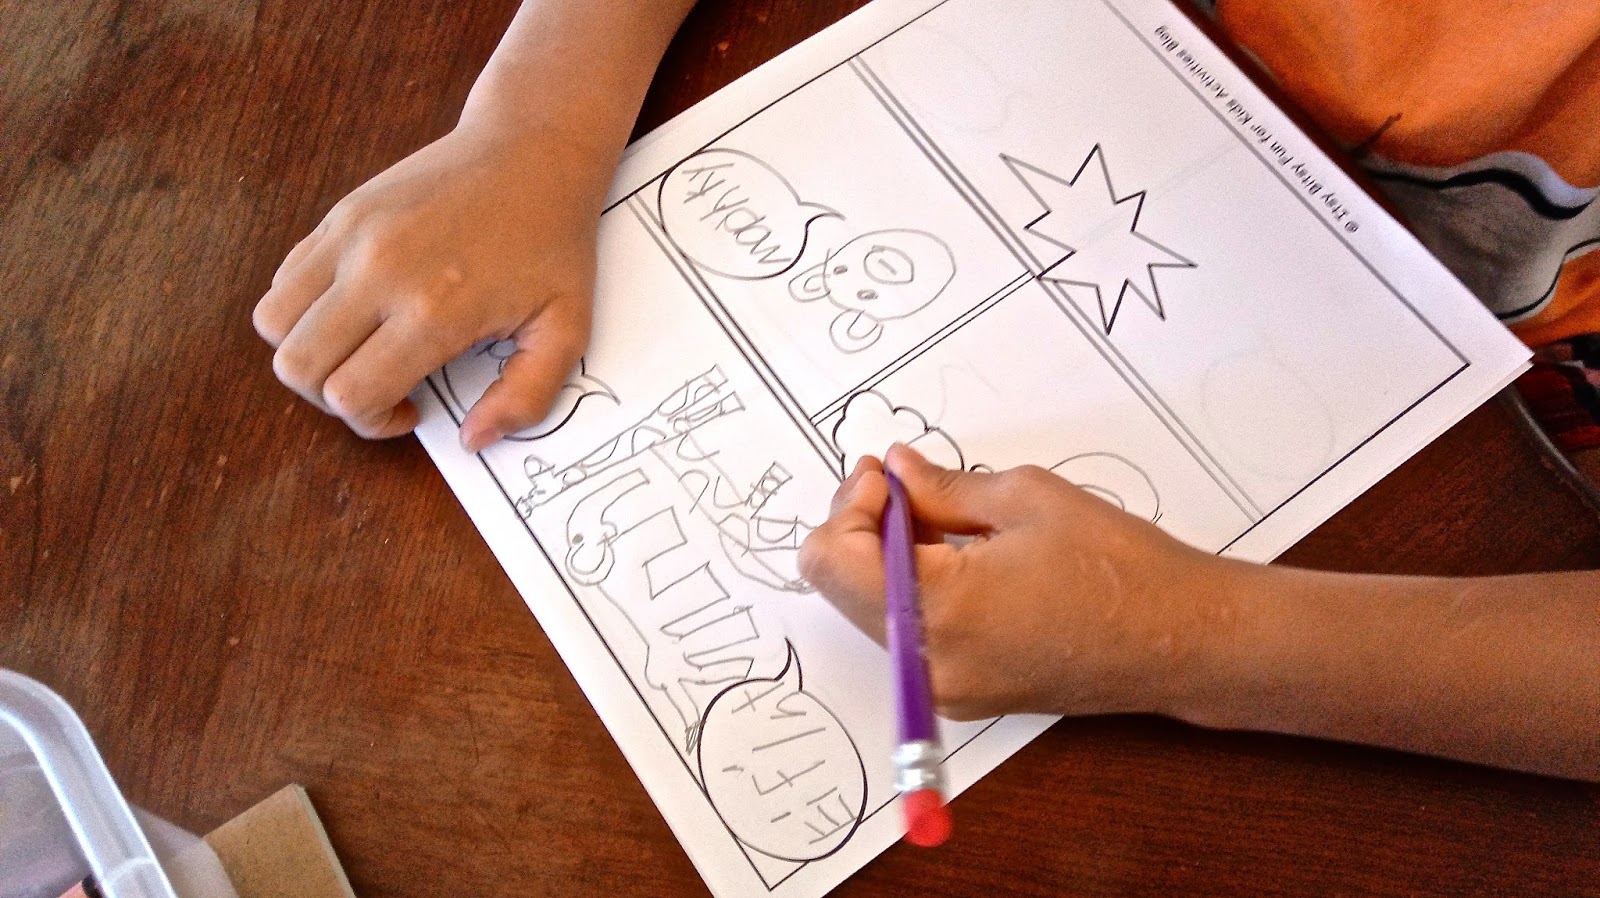
For the comic books, I simply printed out some comic book pages from Kids Activities Blog and gave each child a stack. They used supplies from their art boxes to write and draw their stories. They also made covers out of folded 11 x 17 inch sheets of paper and then stapled everything together.


I had my hubby cut up a half inch board into 8 x 8 and 8 x 6 inch pieces for our string art project. Each child sanded their own board with a small piece of sand paper. Then, they traced or drew a simple shape onto their boards. After a brief demonstration, the kids hammered 1 inch nails every quarter inch or so along their shapes. I helped them tie the string of their choice at their starting point and they looped the string around the nails in the style they preferred, tying them up at the end.

I prepped for the directed multi-media project by scattering different art supplies down the center of the table like a runner. I used stickers, ribbons, different kinds of tape, tissue paper, glue and glitter glue, scissors, a stapler, a hole punch, plus the supplies in their art boxes. I gave each child an 11 x 17 inch sheet of paper and gave them simple directions that they could interpret any way they wanted. "Draw a square on your page. Make your square into something. Add something shiny to your picture... ." It was a blast to see what each child came up with.

Our photograph reproduction project started with each child taking my camera phone outside and taking pictures of whatever they liked. We loaded the pics onto the computer and they chose which photograph they wanted to reproduce. They started drawing their reproductions with pencils and then chose which supplies to use to add in the color.


Our last project was a segmented watercolor poster. I showed the kids how they could make different patterns on their poster boards using lines. They could keep the lines from touching to make stripes or intersect them to make squares, diamonds, or triangles. Then they painted one segment at a time with water colors.
For those of you interested in planning your own art camp, here are a few tips.
1. Gather all of your supplies before hand and have materials prepped - copied, cut, organized, packages opened, etc.
2. You'll also want to make samples of some projects and print out photos or guides of others.
3. Make sure each child has plenty of room to create. You can make stations for each child or a station for each craft or just make sure you have large spaces cleared for them to spread out.
4. Leave plenty of time for each craft. Different kids work at different paces and some will be more detailed than others. Have something available for children to do if they finish early. I had an art supply box and drawing pad for each child to use whenever they wished.
5. A dollar store is a great place to get all kinds of supplies.
6. If you notice any of the kids getting antsy or bored, take a break for a snack, a stretch, a game of chase outside, a splash in the pool, etc.
7. Get a plastic table cloth to cover your table for activities involving fabric paint, tempera paint, or glitter glue. This will save you many a headache.
8. Ask others to join in on the planning if coming up with all of the activities seems too daunting. Or, have someone else take care of the snacks. My lovely friend actually did all of the cooking for our meals and snacks. It was so nice not to have to think about that aspect of our time together. Also, her food is spectacular. Thanks Sweet Friend.
If you do decide to throw such an affair, send me a pic or post a comment. I'd love to hear about your experience, what projects you chose, and how the kids enjoyed it.
No comments:
Post a Comment