 |
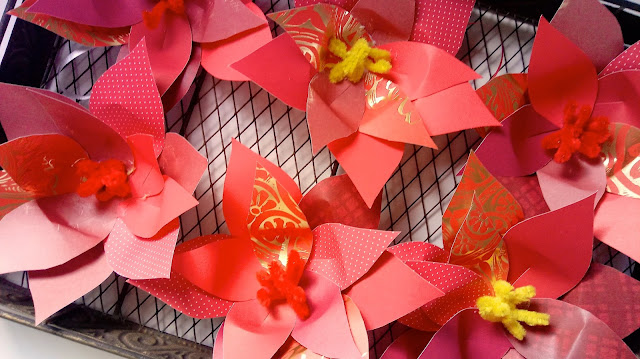
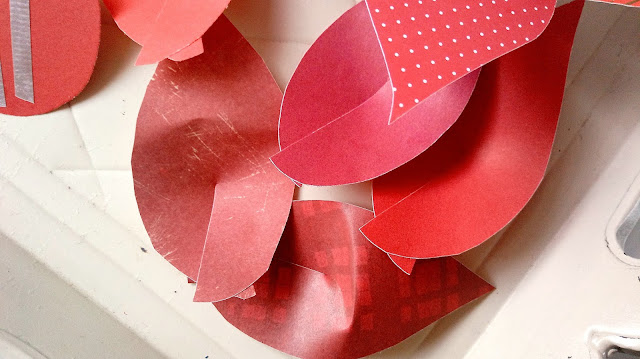
| Our Paper Poinsettia Ornaments turned out fabulous! |
We mixed and matched different shades and patterns of red paper to really make the ornaments pop.

Here's what you'll need:
several sheets of various red colored and patterned paper (one scrapbook sized page will make about 2 flowers)
a printer
a pencil for tracing (see note below template)
sissors
a glue stick
red and/or yellow pipe cleaners (1 per flower)
red curling or mylar ribbon (6 to 8 inches per flower)
glue gun (optional)
Start by printing and cutting the template below. Trace the cutouts onto the back of your pretty red paper and cut 'em all out. Each poinsettia will require 6 large petals, 5 to 6 small petals, and one circular base.

For each petal, cut an inch up from the bottom, put a generous amount of glue on the back of one end and glue it over the other end to create a pucker at the bottom. Hold that pucker closed for several seconds to secure while also bending the petal back at the middle. Poinsettias are an open flower and you'll want the petals to tilt out instead of in. Allow the petals to dry.
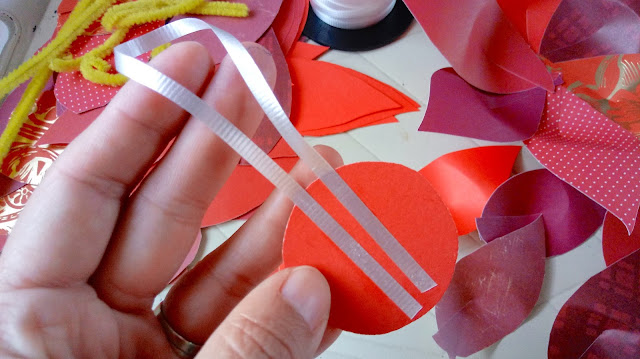
To the base, glue a six inch piece of curling ribbon to make a loop for hanging. Let dry.
If you have smaller children, you'll want to do this preliminary glue prep for the petals and bases beforehand. It's a little tedious.
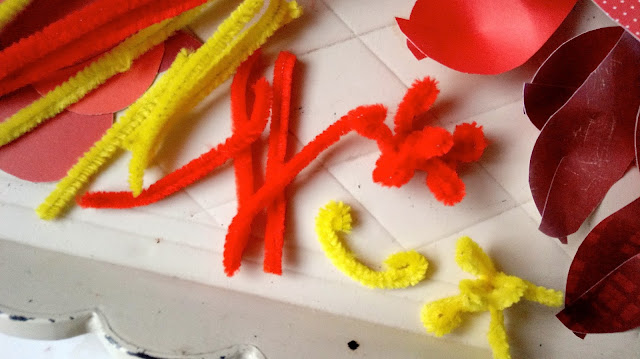
To prep the center of the flower, cut a pipe cleaner in half and then in half again to get 4 equal pieces. Curl in the ends of each piece. Then, twist all four pieces together at the middle and separate out the little tendrils.

To put the flowers together (this is the fun part), glue the large petals, one at a time, onto the ribbon side of the base overlapping them a little as you go.

Now glue the smaller petals in the center, also, overlapping them a little as you go.

Glue a pipe cleaner center smack dab in the middle. This is where you may want to use a glue gun if you have one. Pipe cleaners need a lot of glue to stay secure.

These paper Poinsettia Ornaments turned our little fake Christmas tree (we call it our "humble" tree) into something spectacular. Aren't they just gorgeous on the tree?
Here's that template:
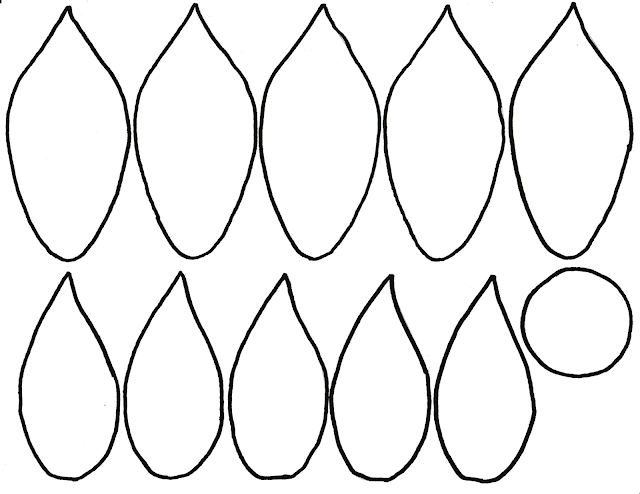
Note: If you're using 8 1/2 x 11 inch colored paper, you can load the paper right into your printer, making sure to print the template on the back side, and then cut out the petals for use. No tracing! If you're using scrapbook sized paper, you'll need to print out the template (card stock is best) and cut out 1 large petal, 1 small petal, and the base to use for tracing.
Happy Christmas crafting!



I love this!
ReplyDelete