Showing posts with label art. Show all posts

Wednesday, November 29, 2017

Advent Drawing Journal

This year the boys and I are drawing our way through Advent. My guys LOVE to draw and I wanted to really engage them as we prepare our hearts for Christmas as a family. So, I put together a simple printable book to take us through each day.

pages for the Advent Drawing Journal sprawled out on a table with a can of markers and color pencils next to them
This year we're drawing our way through Advent with this homemade Advent Drawing Journal.


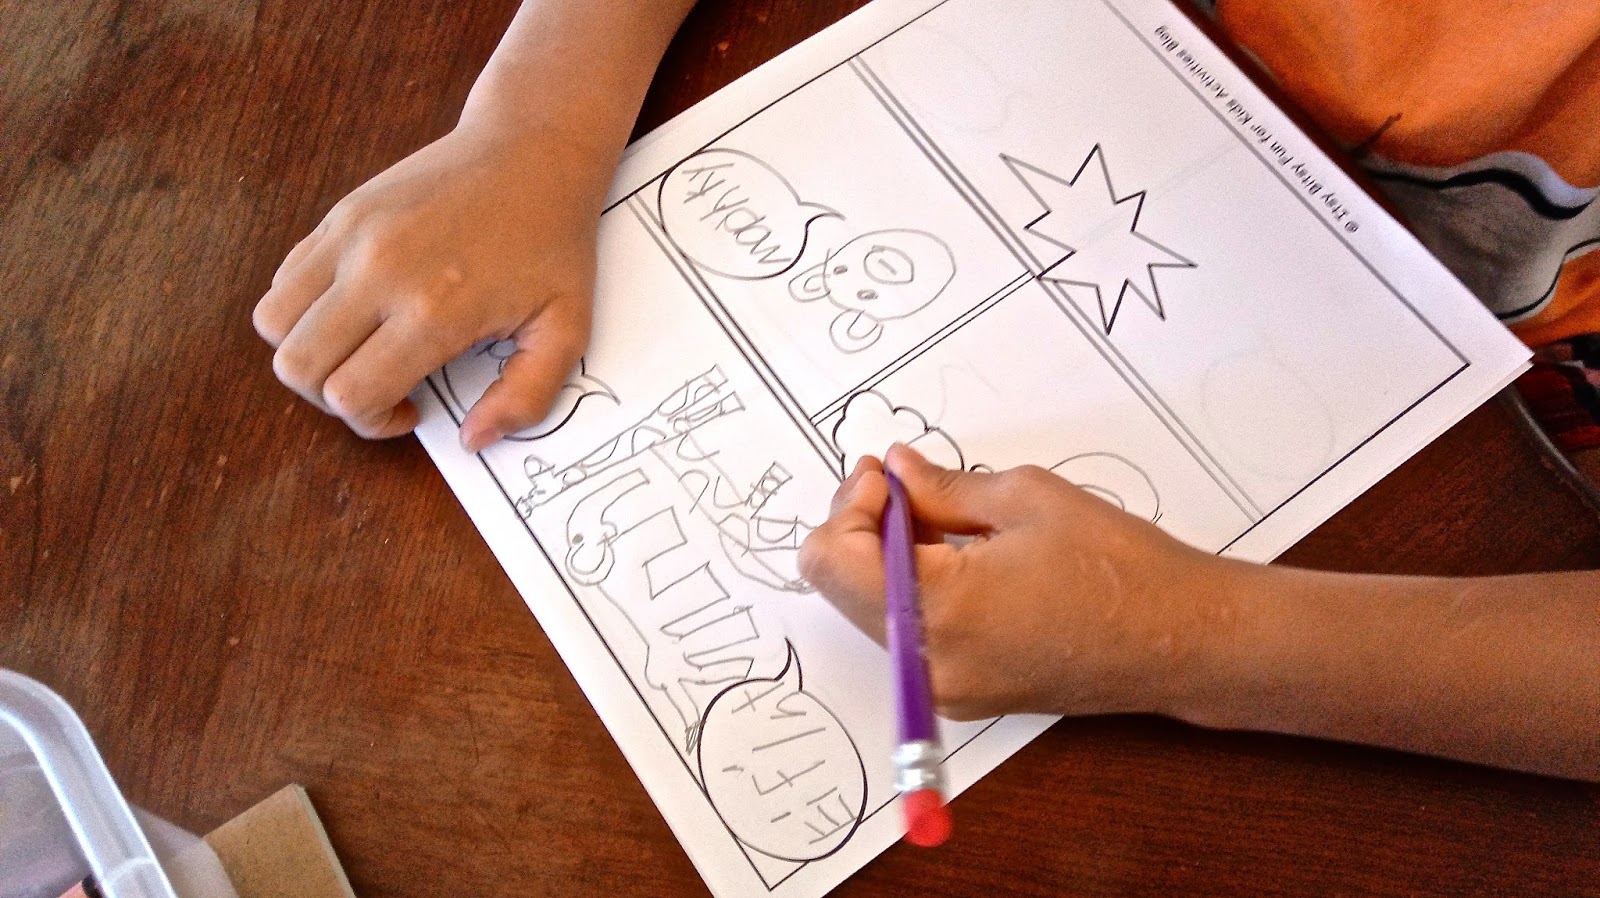
Each page has a line for the scripture for the day, a box for drawing, and a few lines for jotting down any reflections we'll talk about together.

There are a few different lists of scriptures you could use for this project. I opted for my Anglican family prayer book's list:

Week 1 of Advent
Mark 13:33-37
Isaiah 2:1-5
Luke 10:21-24
Isaiah 25:6-9
Matthew 7:24-29
Psalm 27:1-6
Psalm 147:1-12

Week 2 of Advent
Isaiah 11:6-9
Isaiah 35:5-10
Matthew 18:12-14
Matthew 11:28-30
Matthew 11:7-10
Psalm 1
Psalm 80:1-3

Week 3 of Advent
Philippians 4:4-7
Psalm 25:1-8
Matthew 21:28-31a
Isaiah 45:5-8
Psalm 30
Isaiah 56:1
Luke 1:46-55

You could also use the traditional Catholic list of verses. If you want a more nativity focused story, you can use the list from John Piper's "Desiring God" website. I've left the top line of the journal page blank so you can insert the scripture readings of your preference.

Each day I'll read out the scripture reading for that day from a kid friendly version of the Bible, like the New Living Translation (you can use any translation you like). Then, we'll talk about what was read, what it might mean, what it has to do with Christmas, our thoughts and feelings, etc. After that, the boys will get a chance to draw and color anything they like having to do with the reading and our discussion. Finally, they'll write a couple of sentences about what they want to remember about that day's selection.

You can staple the book together or use a hole punch and weave in a pretty ribbon. Also, you may want to print the cover on cardstock. Here are my templates for printing:


Happy preparations y'all!

Advent Drawing Journal Pin

Friday, July 21, 2017

Summer Fun: Art Camp

This was SO MUCH FUN!!! I was texting a friend of mine about arts & crafts when all of a sudden I had a brilliant idea - an arts & crafts weekend. She has a little girl around Mateo's age who also loves creating, so we set a date and got to planning.

arts and crafts

Some of the projects we ended up doing were simple and straightforward and only required the purchase of supplies. Others took a bit more prep and organization.


We decorated pillowcases and hand towels with fabric paint, made our very own comic books, and hammered nails into wooden boards for string art. We also did a directed multi-media project, photograph reproductions, and a segmented watercolor poster. These projects may sound overwhelmingly artsy, but they aren't as complicated as all that - especially in the hands of 7 year olds.

I also had a box of simple art supplies, and a sketch pad, for each child to use if they finished projects early and needed something to do.


You'll need an assortment of fabric paints for the fabric painting project. I found some at the dollar store that were easy to use. I also picked up some solid colored pillowcases and hand towels. You'll need to insert a piece of cardboard inside of the pillowcases as the fabric paint can sometimes bleed through. You could do aprons, cloth napkins, or t-shirts too. White is nice, but as long as it's a solid color, you're good to go.


For the comic books, I simply printed out some comic book pages from Kids Activities Blog and gave each child a stack. They used supplies from their art boxes to write and draw their stories. They also made covers out of folded 11 x 17 inch sheets of paper and then stapled everything together.

string art


string art

I had my hubby cut up a half inch board into 8 x 8 and 8 x 6 inch pieces for our string art project. Each child sanded their own board with a small piece of sand paper. Then, they traced or drew a simple shape onto their boards. After a brief demonstration, the kids hammered 1 inch nails every quarter inch or so along their shapes. I helped them tie the string of their choice at their starting point and they looped the string around the nails in the style they preferred, tying them up at the end.


I prepped for the directed multi-media project by scattering different art supplies down the center of the table like a runner. I used stickers, ribbons, different kinds of tape, tissue paper, glue and glitter glue, scissors, a stapler, a hole punch, plus the supplies in their art boxes. I gave each child an 11 x 17 inch sheet of paper and gave them simple directions that they could interpret any way they wanted. "Draw a square on your page. Make your square into something. Add something shiny to your picture... ." It was a blast to see what each child came up with.


Our photograph reproduction project started with each child taking my camera phone outside and taking pictures of whatever they liked. We loaded the pics onto the computer and they chose which photograph they wanted to reproduce. They started drawing their reproductions with pencils and then chose which supplies to use to add in the color.


Our last project was a segmented watercolor poster. I showed the kids how they could make different patterns on their poster boards using lines. They could keep the lines from touching to make stripes or intersect them to make squares, diamonds, or triangles. Then they painted one segment at a time with water colors.

For those of you interested in planning your own art camp, here are a few tips. 

1. Gather all of your supplies before hand and have materials prepped - copied, cut, organized, packages opened, etc. 
2. You'll also want to make samples of some projects and print out photos or guides of others. 
3. Make sure each child has plenty of room to create. You can make stations for each child or a station for each craft or just make sure you have large spaces cleared for them to spread out.
4. Leave plenty of time for each craft. Different kids work at different paces and some will be more detailed than others. Have something available for children to do if they finish early. I had an art supply box and drawing pad for each child to use whenever they wished.
5. A dollar store is a great place to get all kinds of supplies.
6. If you notice any of the kids getting antsy or bored, take a break for a snack, a stretch, a game of chase outside, a splash in the pool, etc.
7. Get a plastic table cloth to cover your table for activities involving fabric paint, tempera paint, or glitter glue. This will save you many a headache.
8. Ask others to join in on the planning if coming up with all of the activities seems too daunting. Or, have someone else take care of the snacks. My lovely friend actually did all of the cooking for our meals and snacks. It was so nice not to have to think about that aspect of our time together. Also, her food is spectacular. Thanks Sweet Friend.

If you do decide to throw such an affair, send me a pic or post a comment. I'd love to hear about your experience, what projects you chose, and how the kids enjoyed it.

Wednesday, May 10, 2017

Living with a Highly Creative Child

Mateo is one of a kind. He's got creativity oozing out of his pores. Ezra enjoys drawing and creating as well, so I have to keep supplies at the ready whenever their creative juices start to flow.


These days I have to buy 2 to 4 drawing pads a week. I keep certain supplies out on our supply cart at all times: stickers, glue sticks, scissors, a hole punch, markers, crayons, color pencils, and drawing pencils. Messier supplies only come out when we are doing special projects and I'm there to monitor their usage. I also have to make the boys ask for tape now as we have spent many an evening peeling tape off of furniture, walls, carpet, etc.

Keeping supplies handy allows the kids to grab what they need and create things like these...

Ezra wants to be a police man if the whole race car driver thing doesn't work out.


Lego Superman


Minion mayhem.
Teo is in the process of making a Frankenstein piñata for Ezra's birthday in four months.
Homemade race tracks.
... without this busy mama needing to stop what I'm doing to pull out supplies for them.

While they really enjoy planned art projects and following instructions to make a special craft, they also need space to themselves to put onto paper or boxes, or wherever (just not on the walls), what is in their minds and hearts.

As the boys grow older I'd like to hone some of their artistic abilities in personalized ways. Giving them some freedom to creatively explore is also important to me. We art together and we art apart. That's just how we do it around here.

Saturday, April 1, 2017

Keep'n It Simple

We spent this week's art class coloring.


The past couple of weeks have been something else. First, Ezra split open the back of his head. Then, Mateo obtained some horrible bug bites (that turned purple) all around his mouth trying to catch bugs with said mouth out of the grass to feed the lizard he had caught. Nora spent the end of this week fussing with a low grade fever instead of napping. I ended up with what I think is a clogged duct or some other type of painful breastfeeding issue. On top of all of that, the boys were extra whiny during school and extra devious outside of school. I am so done with this week.

I wanted to throw in the towel a few times - maybe I should have. Mama did not do a good job keeping her cool. But I didn't want to sacrifice art class. Art class always gets the short end of the stick, so I decided to keep it simple.


Ezra's letter of the week was "Y" so I pulled out all the yellow markers, crayons, and color pencils I could find. I printed out a couple of homemade coloring pages I had made last summer and gave the boys their project.

To make your own homemade coloring pages, use a black Sharpie to draw patterns of shapes and images on a plain white piece of paper. The more detail you add, the longer it takes to color. That works for us over here. Scan it into your computer using a scanner. Then you can print them out whenever you like.

The boys had a positive attitude about school thanks to this art assignment. I actually had them start with art in an effort to avoid the grumbling and complaining I usually get at the beginning of our school time.


They chose different shades and types of yellow to color their pages. Their art turned out great and it took them a nice long time to finish. The boys didn't mind putting time and effort into this simple project (art is magical that way), so I got a little extra time to deal with my fussy baby.

Here's the coloring pages we used if you'd like to print and color.


Sunday, March 5, 2017

Let's Start with Art

Welcome to the very first post on my new blog and the first post I've written in over a year. I miss writing. Not only is it a great creative outlet all on its own, but it's the creative outlet I use to connect all my other creative outlets.

Speaking of connecting, some of you may remember my cupcake blog, homeschool blog, and twenty pieces blog. This blog seeks to bring those blogs together and then some. There's a lot of fun and craziness going on around here and we've got a lot of Loverbee love to share. Stay tuned for posts on family life, homeschooling, art class, recipes, life in the country, my hubby's woodworking projects, and so much more.


So, without further ado, let's start off with a pop of color.


Unicorn color, that is. 

I've added a weekly art segment to our homeschool curriculum. This week my pre-k guy is learning about the letter "U". I found the cutest unicorn gift box idea on Pinterest. Click on the link to see the original craft.


We started off our project with tea boxes. We do a lot of upcycling around here.


We had to put two coats of tempera paint on our boxes which meant two different days of painting. Really, three would have been even better.


On the third day we were ready to decorate.


I pre-cut ears and horns for easier assembly. I also pre-cut strips of colored paper 8 1/2 inches long and about 1/2 inch wide for the hair. Just hold a stack of colored construction paper in the landscape position, eyeball 1/2 inch strips, and start cutting. 

Here is my template for the horn and ears.

Tape the folded sections of the ears down onto the top of your box. Cut the line on the circle to be able to fold over and roll into a cone shape. The tighter you roll it, the taller and thinner your horn will be. Tape to secure and then tape it to the top of your box. Most of the tape gets hidden by the rainbow hair you glue down.

Eyeball or measure the length of bangs and back mane you want to add to your box. We used glue to secure sections to the top of the box while folding over the sections we wanted to hang down as bangs or back mane. Do not put glue on these bottom hanging sections as glued down bangs will glue your box shut.


We used a black sharpie to draw faces and details and added some glitter glue accents as well.


Presenting... our unique unicorns. You go letter "U"! As you can see kids have an awesome way of interpreting instructions. I let my kids get jiggy with it in art class and do things their own way. I show them a sample, give them instructions, and then they get to interpret and create. I admire those gorgeous websites full of beautiful and perfect crafts, but when kids get involved the terms "beautiful" and "perfect" take on new meanings. Can you tell which one is mine?

My eldest actually turned his box into a unicorn lego game complete with a sandwich bag full of legos that can be put together to make a lego unicorn and a sandwich bag full of instructions. This kid has creativity spilling out his ears.


Happy unicorn making and see you back here for more fun.